Let's build the delivery task creation webform from the ground up, starting with its most important controls. You could argue that there are perhaps more essential details of a delivery task, but the name of the driver, the name of the client, and the associated dates seem like a pretty good starting point.
For now, make the name-entry controls simple text boxes - you'll be binding a list into these controls soon enough.
Create the webforms folder for your webforms. Inside it, create the
newTask.fls.xml file with your favorite text editor, and put the
code below inside
it.
<form
  id='newTask'
  menuName='New Task'
  platforms='web'
  xmlns='http://schemas.mobilengine.com/fls/v1'>
  <textbox id='driver'
    label='Assigned Driver'
    text='(enter the name of the driver)'
    width='30 em'/>
  <textbox id='client' label='Client'
    lines='3'
    width='30 em'/>
  <datepicker
    id='POdate'
    label='Purchase Order date:'
    dateFormat='(dtf yyyy "-" MM "-" dd)'
    width='30 em'/>
  <datepicker
    id='dueDate'
    label='Delivery due:'
    dateFormat='(dtf yyyy "-" MM "-" dd)'
    width='30 em'/>
</form>
A
bit of context: The webforms language is XML-based, and uses SQLite-like syntax for queries
(more on this is a minute).
Webform files have the .fls.xml extension, and elements inside them are in
the http://schemas.mobilengine.com/fls/v1 namespace.
The id and menuName attributes are mandatory for the
required node element <form>. These identify the webform within the
solution artifacts, and in the UI, respectively. The namespace declaration, and the
platforms='web' attribute is also mandatory, but that's about all the
attributes the <form> element can have.
The id
attribute is not required on child elements, but you can't address an ID-less control in a workflow script, and its values won't be sent to the cloud when the form is
submitted.
A textbox element declares a text box control for text input. None of its
attributes are required:
-
The value in
labelis the non-editable text that the browser displays next to controls -
widthsets the width of controls in the form. It only takes em units. -
linesdetermines how many lines the text box will have. 1 is the default. -
The value in
textis the optional starting text for the text box. The default is an empty string.
Unlike the mobile form language, webforms have separate date- and timepickers. The
dateFormat attribute, that defines the format used to display and parse a
date value, is something a datepicker control, understandably, can't live without.
Time to try out your new creation. Save the form and publish it via the Mobilengine Build Tool as you did countless of times before.
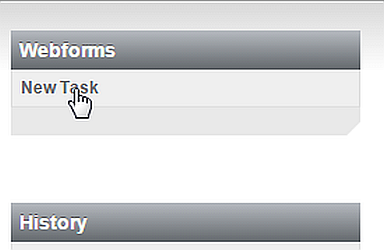
To actually see the form, log in to the backoffice site, and click the Go to webforms link in the top right.

When you're on the site, click New Task in the Webforms group in the top left-hand corner.
When the form is good and open, see just what you've been up to so far.
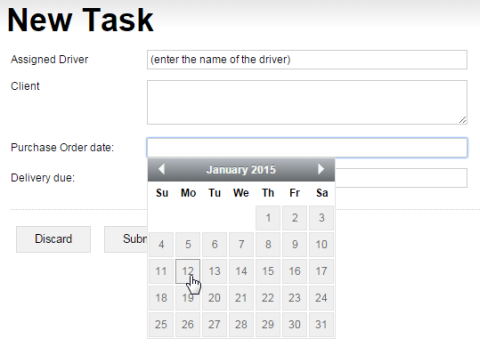
Neat.
Without a workflow script to handle the submitted data, this form is useless, but don't
lose heart. Let 'Build it first, make it work later.' be your motto,
and head on to the next section.